It’s super frustrating when you gotta put down that rare piece of RC just because it runs a 5 wire servo.
To make things even more difficult, some RC vehicles don’t even fit other 3 wire servos. So, ultimately, we end up with one option. Which is a 5 wire to 3 wire conversion.
So, how to convert 5 wire servo to 3 wire?
Well, at first, take a 5 wire servo and 3 wire servo. Next, open up both the servos. Then, take out the controller board from the 3 wire servo. After that, attach the controller board to 5 wire servo. Finally, test the servo with a servo tester.
But there’s more to the steps. And it’s pretty important to go through all those. Now, let’s dive right into the details-
Contents
Should You Really Convert?
To understand the answer to this question, you should at first understand RC servos.
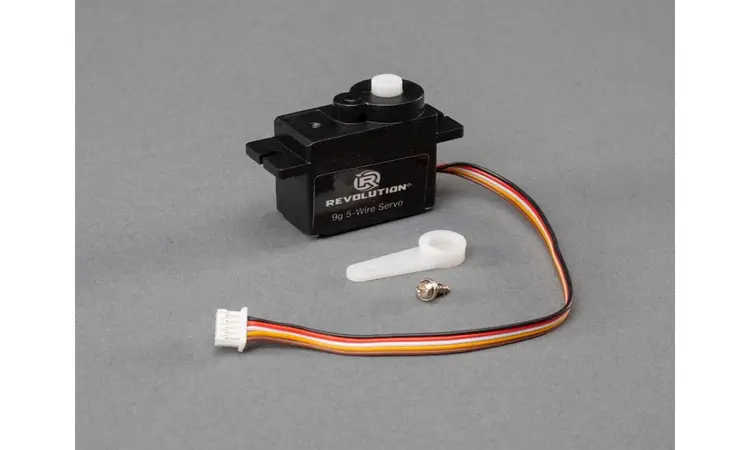
So, basically, 5 wire servos are the ones where 2 wires are connected to the motors and 3 wires are connected to the potentiometer.
Now, what is a Potentiometer?
Well, the potentiometer is the instrument that supplies the stored electricity when needed. It maintains a specific voltage difference between two poles.
On the other hand, the 3 wire servo has 3 wires which are connected to 1 motor, 1 potentiometer, and 1 controller board.
Now let’s head to our main question, why should you convert? Well, there are 2 main reasons behind it.
Reason 1: The 5 Wire Servos are Sub-Par
Chances are that you know this already.
But in case you’re new to this, let’s make it clear.
You see 5 wired servos are a bit old school. And the reason behind 5 wires is that it lacks a controller board. In simpler words, it lacks some decent electronics.
As a result, many call 5 wire servos dumb servos. And that’s why nowadays most RC devices use 3 wire servos.
Reason 2: Compatibility Difference between 2 Types
Now that we know the performance difference between the two types, you might have an obvious question.
Why can’t I just install a 3 wire servo to the RC car?
Well, you can’t. Because the slot which exists in that specific model of car is built for 5 wires. Which makes installing a 3 wire servo impossible. For this reason, the wisest decision is to convert to a 3 wire servo.
Now, with a bit of motivation, you might snuggle it in there. But this will result in some servo problems.
How to Convert 5 Wire Servo to 3 Wire?
The conversion process is very easy just like reversing a servo. Just follow 5 simple steps and voila! You’re done.
However, for this, you must have the required equipment at your home. Also, you have to know the basic wiring skills.
The thing is-
Wiring is not that tough to understand. At least for this process. All we have to do is to mark the specific wires which were connected as it was previously.
But wait-
Before we convert 5 wire servo, let us take a look at all the tools we’ll be needing for this operation-
Once you’ve gathered up these, you can start converting the 5 wire servo to 3 wire servo-
Step 1 of 5: Opening Both the Servos
Take a screwdriver and open up both of the 5 and 3-wire servos. In case you don’t have a 3-wire servo yet, you can grab one of these exquisite servos:
| Image | Title | Price |
|---|---|---|
 | BETU 2Pack 25KG High Torque RC Servo | Check Price |
 | ZOSKAY 35kg high Torque Coreless Motor servo | Check Price |
We will see both the servos are made up of the same materials. But the 3 wire servo will have a circuit or controller board.
However, be careful to keep the screws from both servos separated. A mixup will cost you some unnecessary minutes.
Oh and take a quick picture of the wire setups of the 3 wire servo in this step. Make sure that the wire colors and their connecting points are visible in the picture.
Step 2 of 5: Unplugging the Controller Board
Now, there are 2 ways to unplug the circuit from the 3 wire servo.
One way is to cut the wires which are connected to the circuit of the 3 wire servo. On the other hand, you can use a soldering iron to separate the wires from the board.
If you’re aiming for the cutting option, then be careful. A long cut might ruin the whole thing. So, try to keep the cut within 1-2 CMs.
And if you’re aiming for the soldering option, then be careful with the iron. Don’t burn yourself in the process.
Step 3 of 5: Fixing the Controller Board to 5 Wire Servo
After taking out the circuit from the 3 wire servo, we have to plug it with the 5 wire servo. This is the hard part of the whole process.
And to make things even more confusing, there are several ways to wire this thing. So, let’s just follow one simple method to make everything easier.
So, at this step, start by separating the 5 wires. Once those are separated, splice the wires.
Now, you can follow the picture taken from step 1. However, if you’ve forgotten to click a picture, then we’ll describe a sample wiring for you.
You see, in most of the cases, you’ll find red, yellow, black, white, and green/blue wires. So, based on this color code, try your best to copy the following steps-
- Connect the center pin (potentiometer wiper) with the black wire.
- Connect the white and yellow wires to the potentiometer ends.
- Connect the green/blue and red wires to the motor wire ends of the servo board.
However, this color code may change from one servo to another. So, it’s best that you follow the picture method.
Step 4 of 5: Closing the Servos.
Once you’re done attaching the wires, it’s time to fit the circuit in a suitable position of the servo.
After that, we close up the servo. However, before closing up the servos, we need to be careful about the positioning of the motor and potentiometer.
Step 5 of 5: Testing the 5 Wire Servo
Plug the 5 wire servo back to the controller. Test the servo if it’s working or not. You can do this easily with a good servo tester.
Or you can test the servo by connecting it with the steering or the wheels.
If it works then you completed the process as directed. If it does not work then check the wiring of the servo again.
Congratulations! You successfully converted a 5 wire servo to 3 wire if you followed the steps properly.
Safety Measures
We have to keep in mind that the servos have a definite voltage tolerance. That is 5V. So, chances are if we give an input of 7 volts then the servo might short circuit.
Which is not good for our toy.
Oh, and as we are dealing with point objects like screwdrivers and wires, wearing a pair of gloves is recommended.
FAQs
How does a 5 wire servo work?
2 wires are connected to the motors. 3 wires are connected to the potentiometers. So, the energy is stored in the potentiometer and whenever needed supplied to the motor.
What is the maximum voltage input of a 5 wire servo?
The maximum voltage input is 5 volts. If the voltage input is more than 5 volts then the servo won’t work. There’s also a chance of a short circuit.
Are there any required safety measures for the given procedure?
Safety measures are not necessarily needed. Because there is no chance of electric shock or getting hurt. Still, we must be cautious while screwing and also while wiring the circuit to 5 wire servo.
Conclusion
By now, you should know the whole process of converting a 5 wire servo to 3 wire.
One last piece of advice, make sure that the ground wire is connected to the ground. Otherwise, the servo won’t work.
Let us know in the comments if you were able to follow the whole process.
Till then, enjoy drifting RC cars.